


Start sooner
Every 12″ × 12″ sheet is already sized and ready to use, so there is no roll to measure and fewer awkward offcuts to manage.

Kunne ikke indlæse oplysninger om mulighed for afhentning
You're welcome to share it on social media!

Made for smoother embroidery days
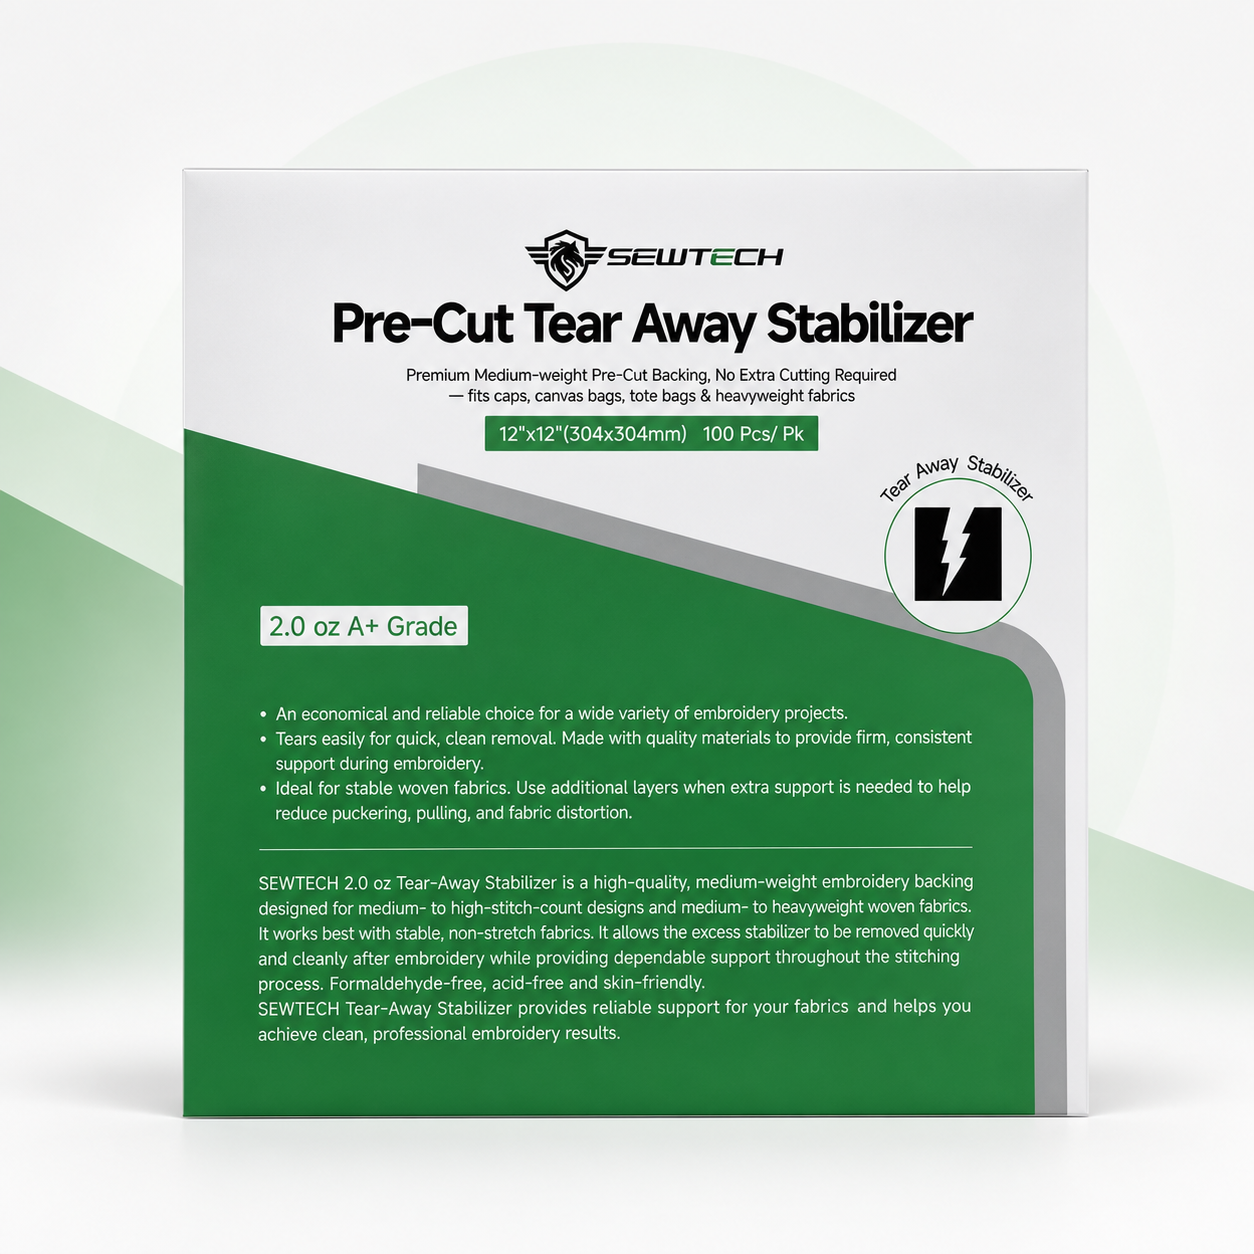
Give stable woven fabrics the temporary support they need—without measuring a roll before every design. Hoop a ready-cut sheet, stitch with confidence, then gently tear away the excess.
Less prep. Better control.
A supportive foundation helps the fabric stay put while your machine handles outlines, fills, lettering and changing stitch directions.
Every 12″ × 12″ sheet is already sized and ready to use, so there is no roll to measure and fewer awkward offcuts to manage.
The 2.0 oz medium-weight backing helps limit shifting, rippling and distortion on stable fabrics as the design builds.
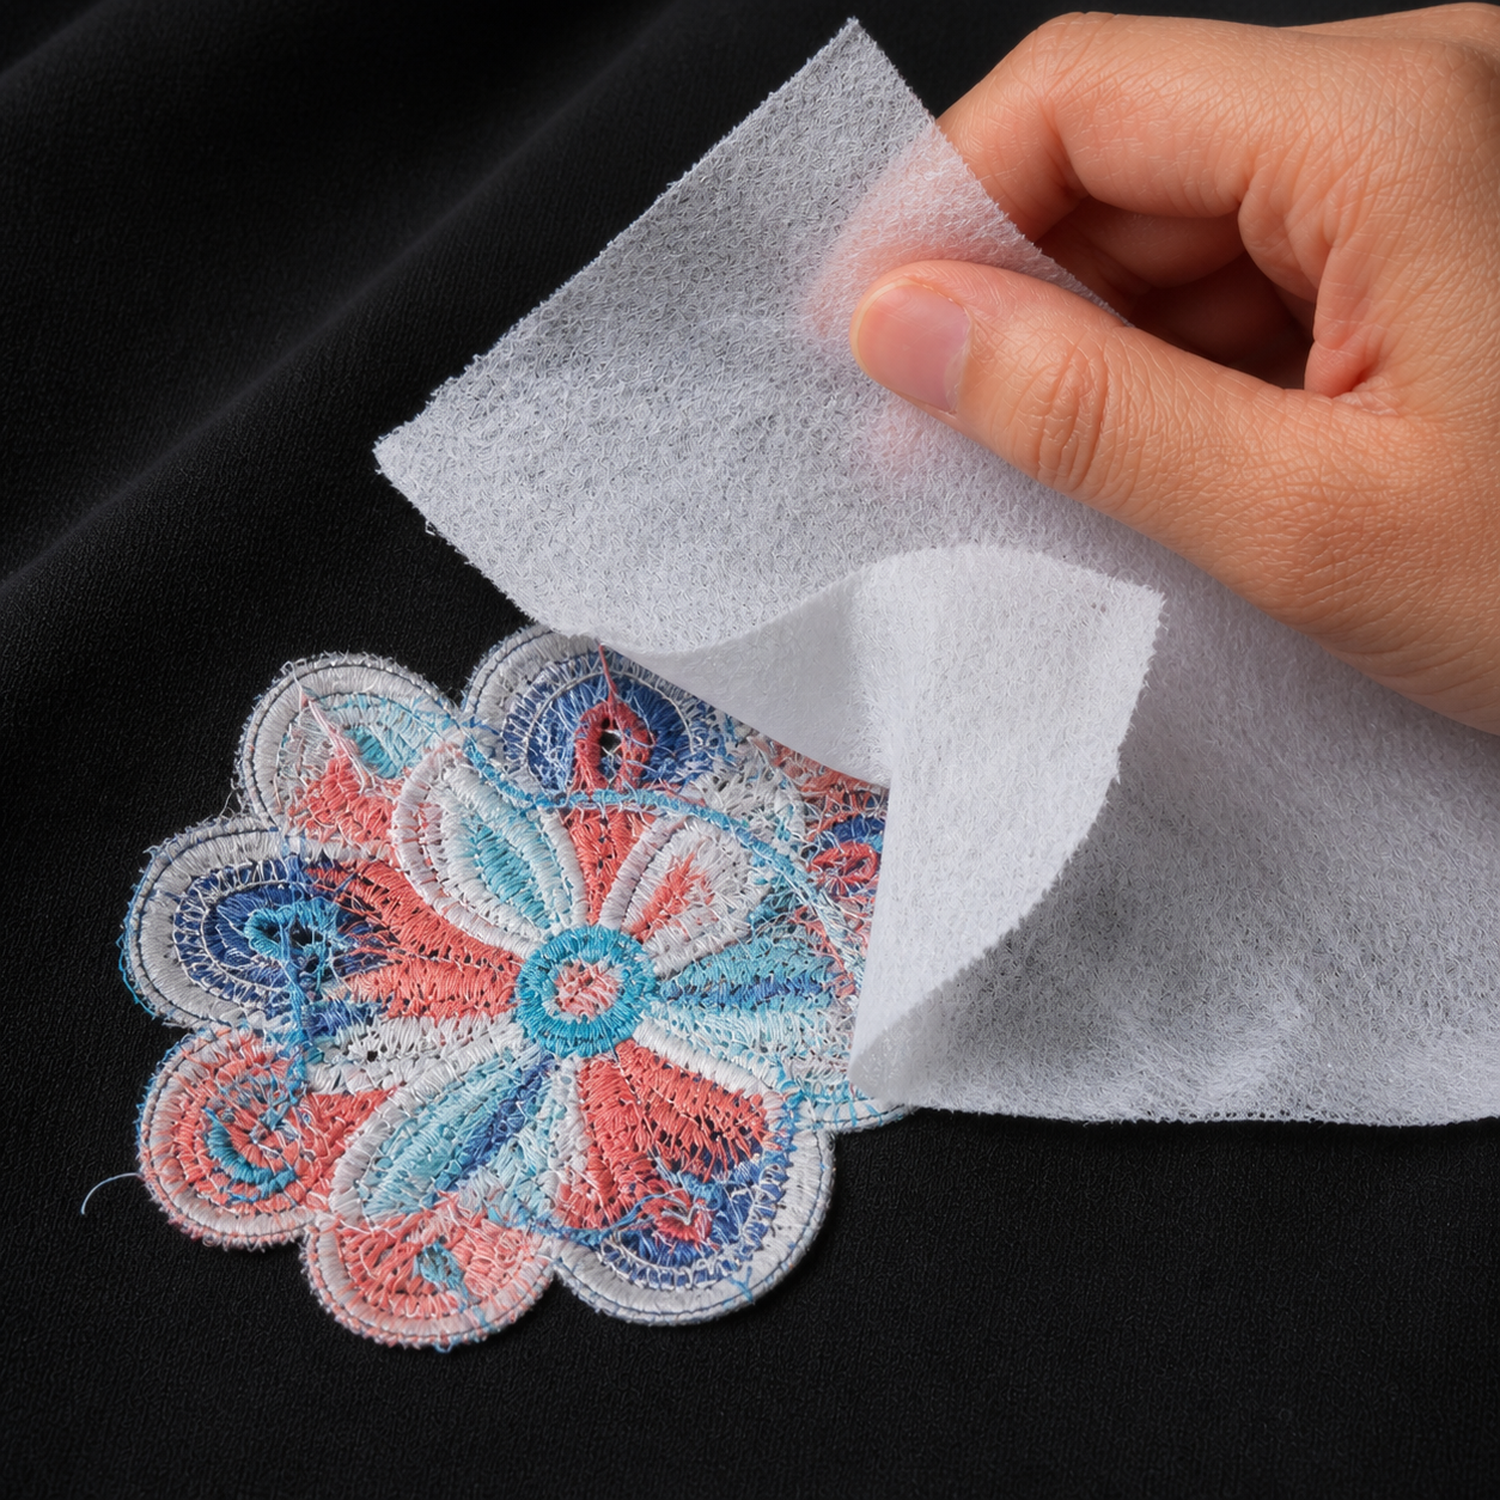
Support the stitched area and tear away the exposed backing by hand after embroidery—no close scissor work around the design.
One useful size, ready on demand
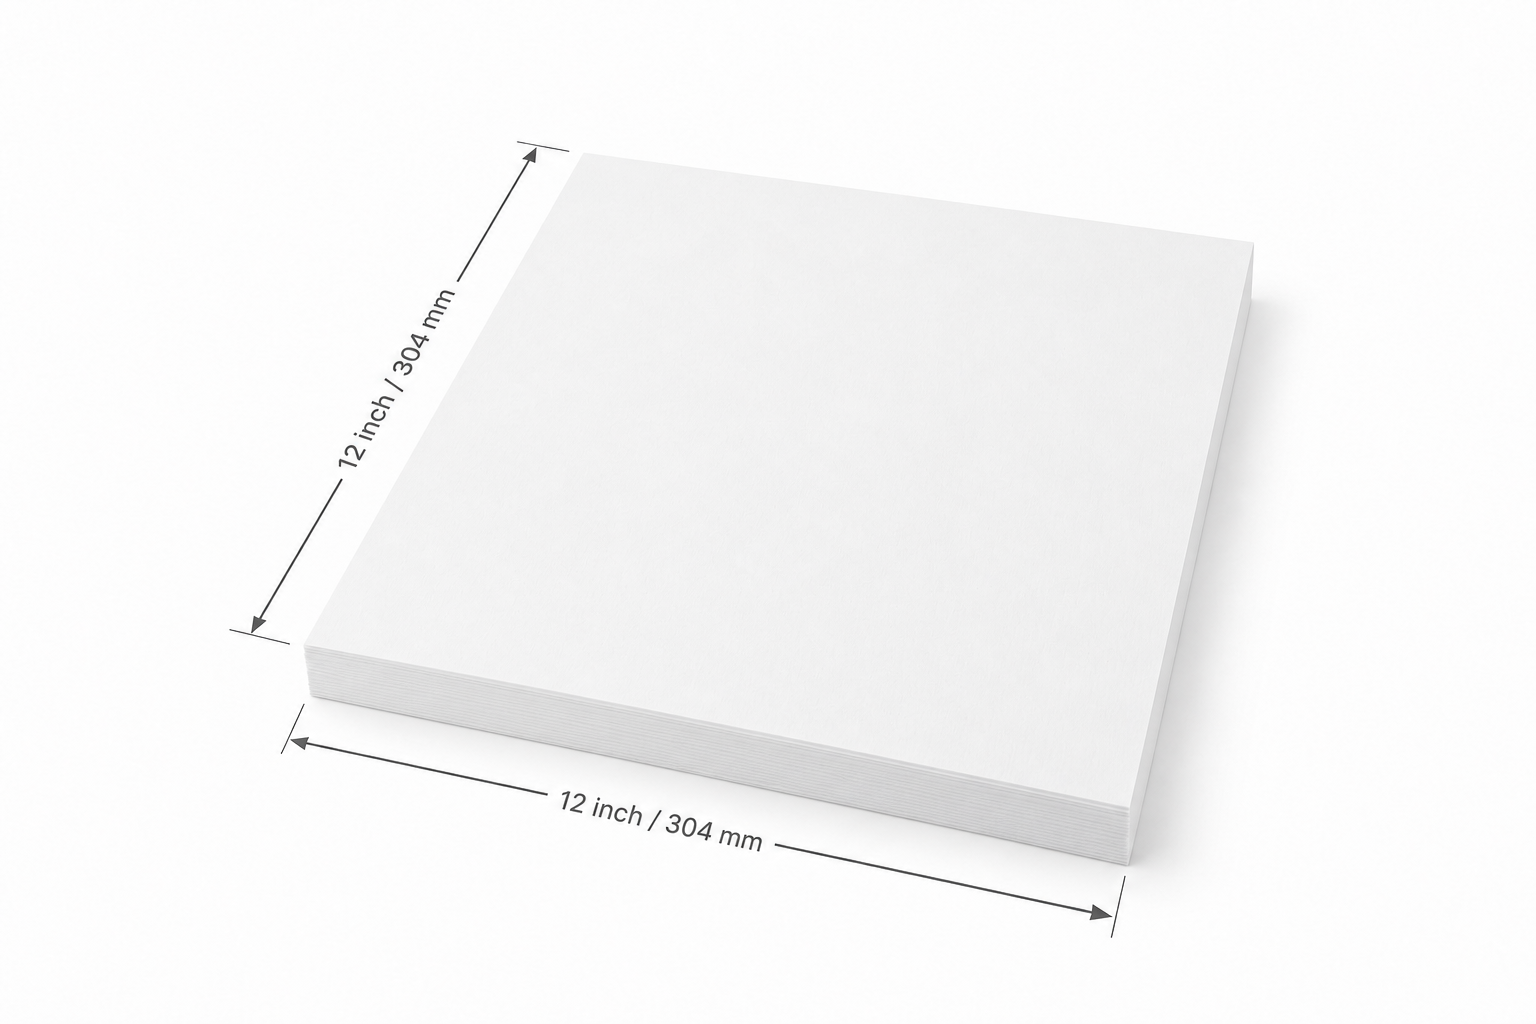
At 12″ × 12″ (304 × 304 mm), each sheet gives common embroidery fields room for a secure hooping margin. It works with compatible 5″ × 7″ and 10″ × 10″ hoops when the complete embroidery area is covered.
A quick fabric check now can save a frustrating stitch-out later.
From blank fabric to finished design
No adhesive or fusible feature is specified. Place the backing below the fabric and hoop the two layers together.
Lay one sheet beneath the fabric. Keep both layers flat and smooth, then hoop them tautly without stretching the fabric.
Run a sample when possible, then embroider with the needle, thread, density and machine settings suited to the project.
Remove the project from the hoop. Hold the stitches steady and tear excess backing inward from the outside edge.
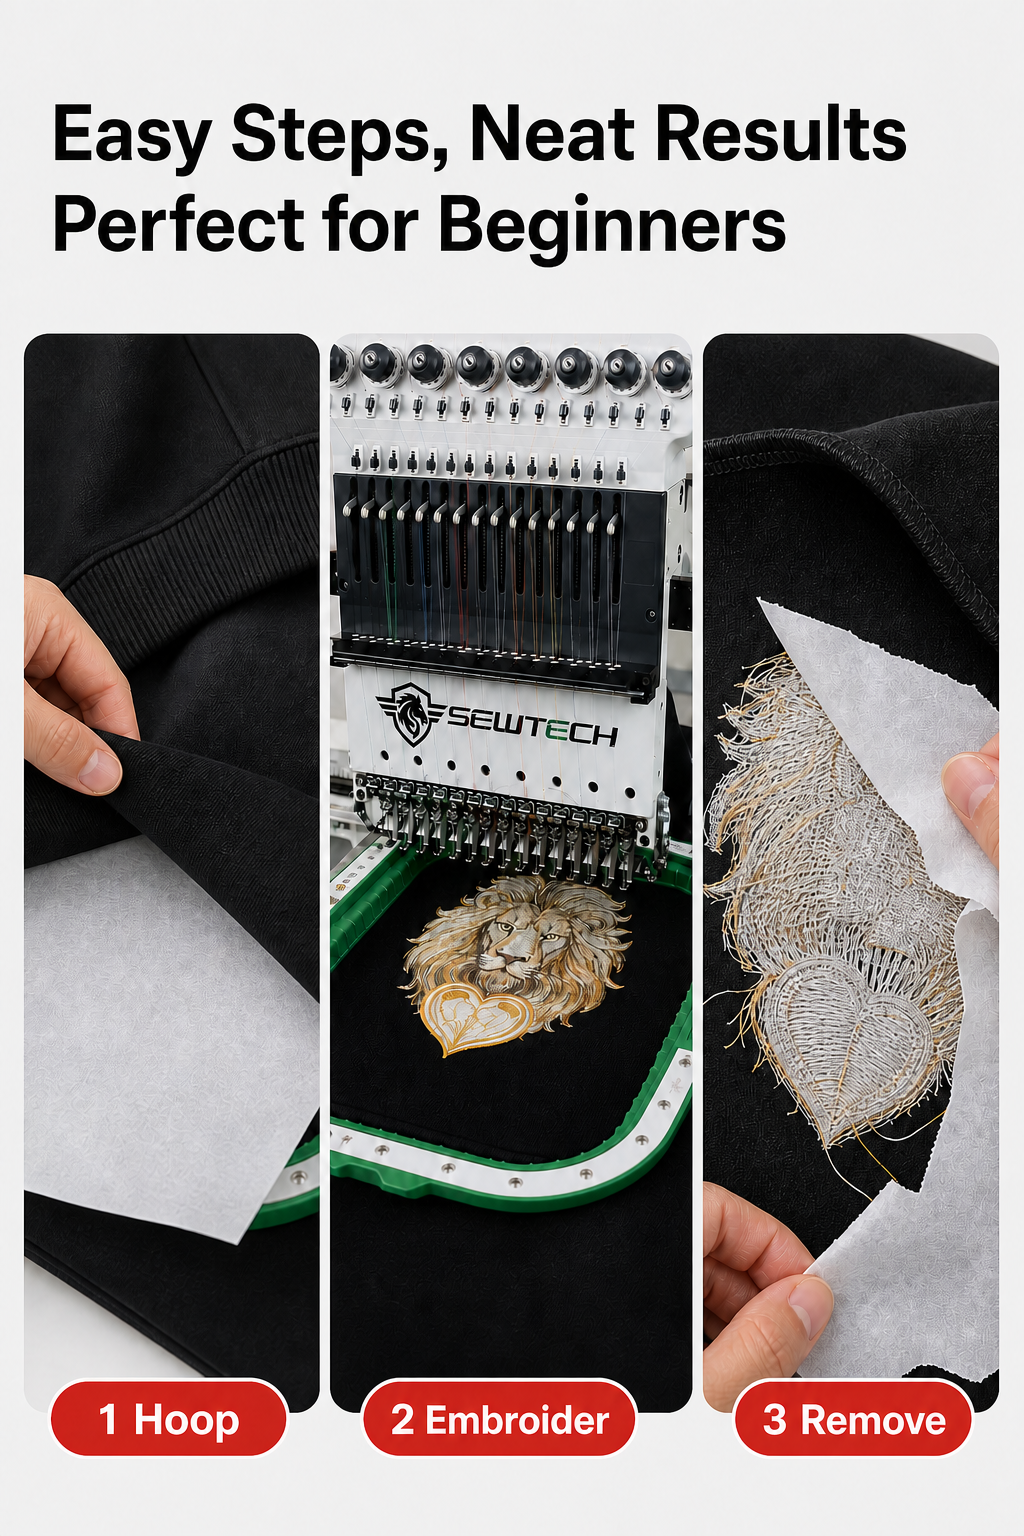
For a gentler removal: If you used two layers, tear them away one at a time. Keep one hand close to the embroidery and avoid pulling hard against satin stitches or fine lettering.
Small habits, more polished stitch-outs
Stabilizer is one part of a clean result. Pair it with balanced hoop tension, appropriate digitizing and the correct needle for your fabric.
Know exactly what arrives
| Brand | SEWTECH |
|---|---|
| Product type | Tear-away machine embroidery stabilizer backing |
| Format | White pre-cut sheets |
| Sheet size | 12″ × 12″ (304 × 304 mm) |
| Weight | 2.0 oz, medium weight |
| Grade | A+ |
| Pack quantity | 100 sheets |
| Hoop compatibility | Designed for compatible 5″ × 7″ and 10″ × 10″ hoops; verify full coverage before use |
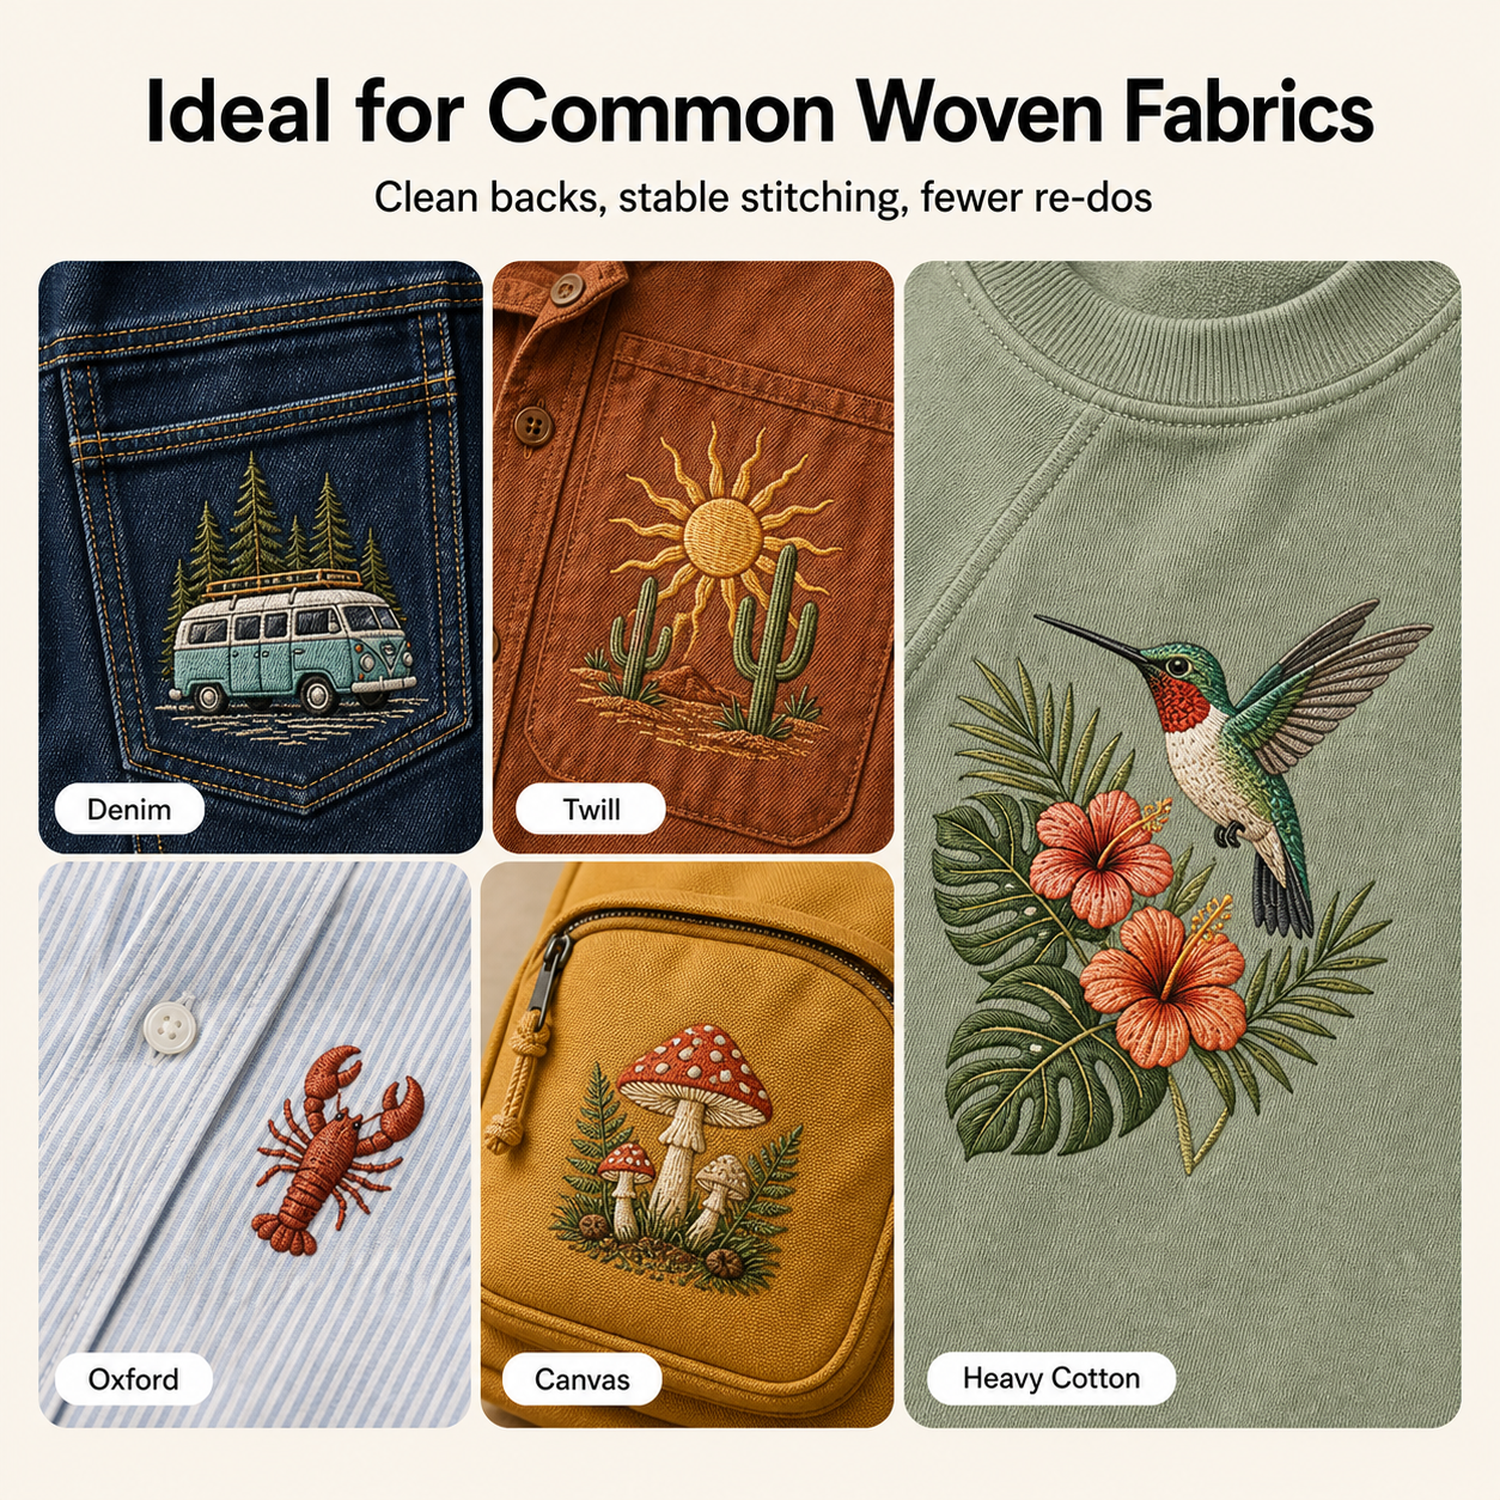
| Best for | Stable, non-stretch woven fabrics |
| Product labeling | Formaldehyde-free, acid-free and skin-friendly |
| Package contents | 100 pre-cut tear-away stabilizer sheets |
Quick answers before you hoop
Yes, a 12″ × 12″ sheet provides generous coverage for commonly used 5″ × 7″ embroidery areas. Make sure the backing extends beyond the entire design before stitching.
The sheets are intended for compatible 10″ × 10″ hoops. Because frame profiles and outer measurements differ, compare the sheet with your exact hoop and confirm complete coverage first.
Start with one layer for many standard, medium-density designs. If a test stitch shows movement or the design is especially dense, add a second layer and test again.
No adhesive or fusible property is specified for this item. Position one sheet under the fabric, then hoop the fabric and stabilizer together.
Tear-away backing is best suited to stable fabric. For T-shirts, knits and other stretch materials, choose a suitable cut-away backing that remains behind the design for ongoing support.
Hold the stitched area firmly, begin at the outside edge and tear slowly toward the design. Remove multiple layers separately and avoid tugging directly across delicate stitches.